Most walking pads are sold as a flat board with a belt and a remote. A walking pad with a handle bar is a different object, and it is the version of this purchase that tends to survive month two.
I have watched a lot of people buy the flat version. They walk on it eleven times, the belt collects dust, and it slides under the bed next to the resistance bands. A handle bar does not fix motivation. What it fixes is the specific moment you look down at your screen, lose your balance reference, and grab for something that is not there. That grab is where the eleven-use pattern starts.
This guide is about setting the pad up so that moment never costs you a fall: where to put it against a desk, how high to set the bar, when to add incline, what speed you can actually work at, and how to check the machine before you trust it with your body. No medical claims here and no cure for anything. Just the setup order that works, and the caveats that keep it working.
Why you should trust me
I spent nine years as a backend engineer sitting ten hours a day, and at 31 I herniated my L5 disc. My physical therapist gave me a simple deal: move every hour or pay for it later with interest. So I rebuilt my home office in Austin, Texas around movement instead of around a chair.
I own three walking pads. I keep a step counter, a tape measure, and a spreadsheet of decibel readings taken at my own desk, at ear height, while walking, not while the belt is idling in an empty room. I review under-desk treadmills the way I would review anything that a person stands on for two hours a day, which means I care more about belt width, deck height, remote behavior, and wobble at 2.5 mph than I care about a horsepower number printed on a box.
I am not a doctor and this is not medical advice. If you have a back or balance issue, your physical therapist gets the final word on whether you walk on a pad at all, and at what speed.
How I judge a pad before I recommend it
I want to be honest about the limits of a spec sheet, because most walking pad content is written from a spec sheet.
A motor is rated two ways: peak horsepower and sustained horsepower. Peak is what it can do for a few seconds when you step on. Sustained is what it can hold for an hour while you take a call. Marketing copy always quotes the peak number, so a "3.5HP" pad and a "2.5HP" pad can be running the same motor with different stickers. I do not treat a peak number as a promise.
The numbers I actually trust are physical. Belt width tells you whether your feet fit inside the walking surface without thinking about it. Deck height tells you whether the pad slides under your desk and whether your chair rolls over it or into it. Remote behavior tells you whether you will change speed at all, because a remote that needs line of sight or an app account to adjust is a remote you will stop using. I use mine around forty times a day, so this matters more than any motor spec.
For noise, manufacturer decibel ratings are usually taken at idle. A pad that idles quietly can still whine at 3 mph. I measure at my own ear height while walking, and I treat anything I cannot verify from the unit in my office as a claim rather than a fact.
I am applying that same standard here. I am telling you what the spec sheet says, what I look for, and what I cannot verify without the machine in front of me. That is the honest version.
What you need before you start
You cannot set up a pad on a floor that fights it, and you cannot fix a pad that wobbles because your desk is in the way. Get the two pieces of gear below sorted first, then run the setup steps. The pad is the main event. The cushion is the small thing you will use more than you expect, mostly on your knees, on the floor, next to the machine.
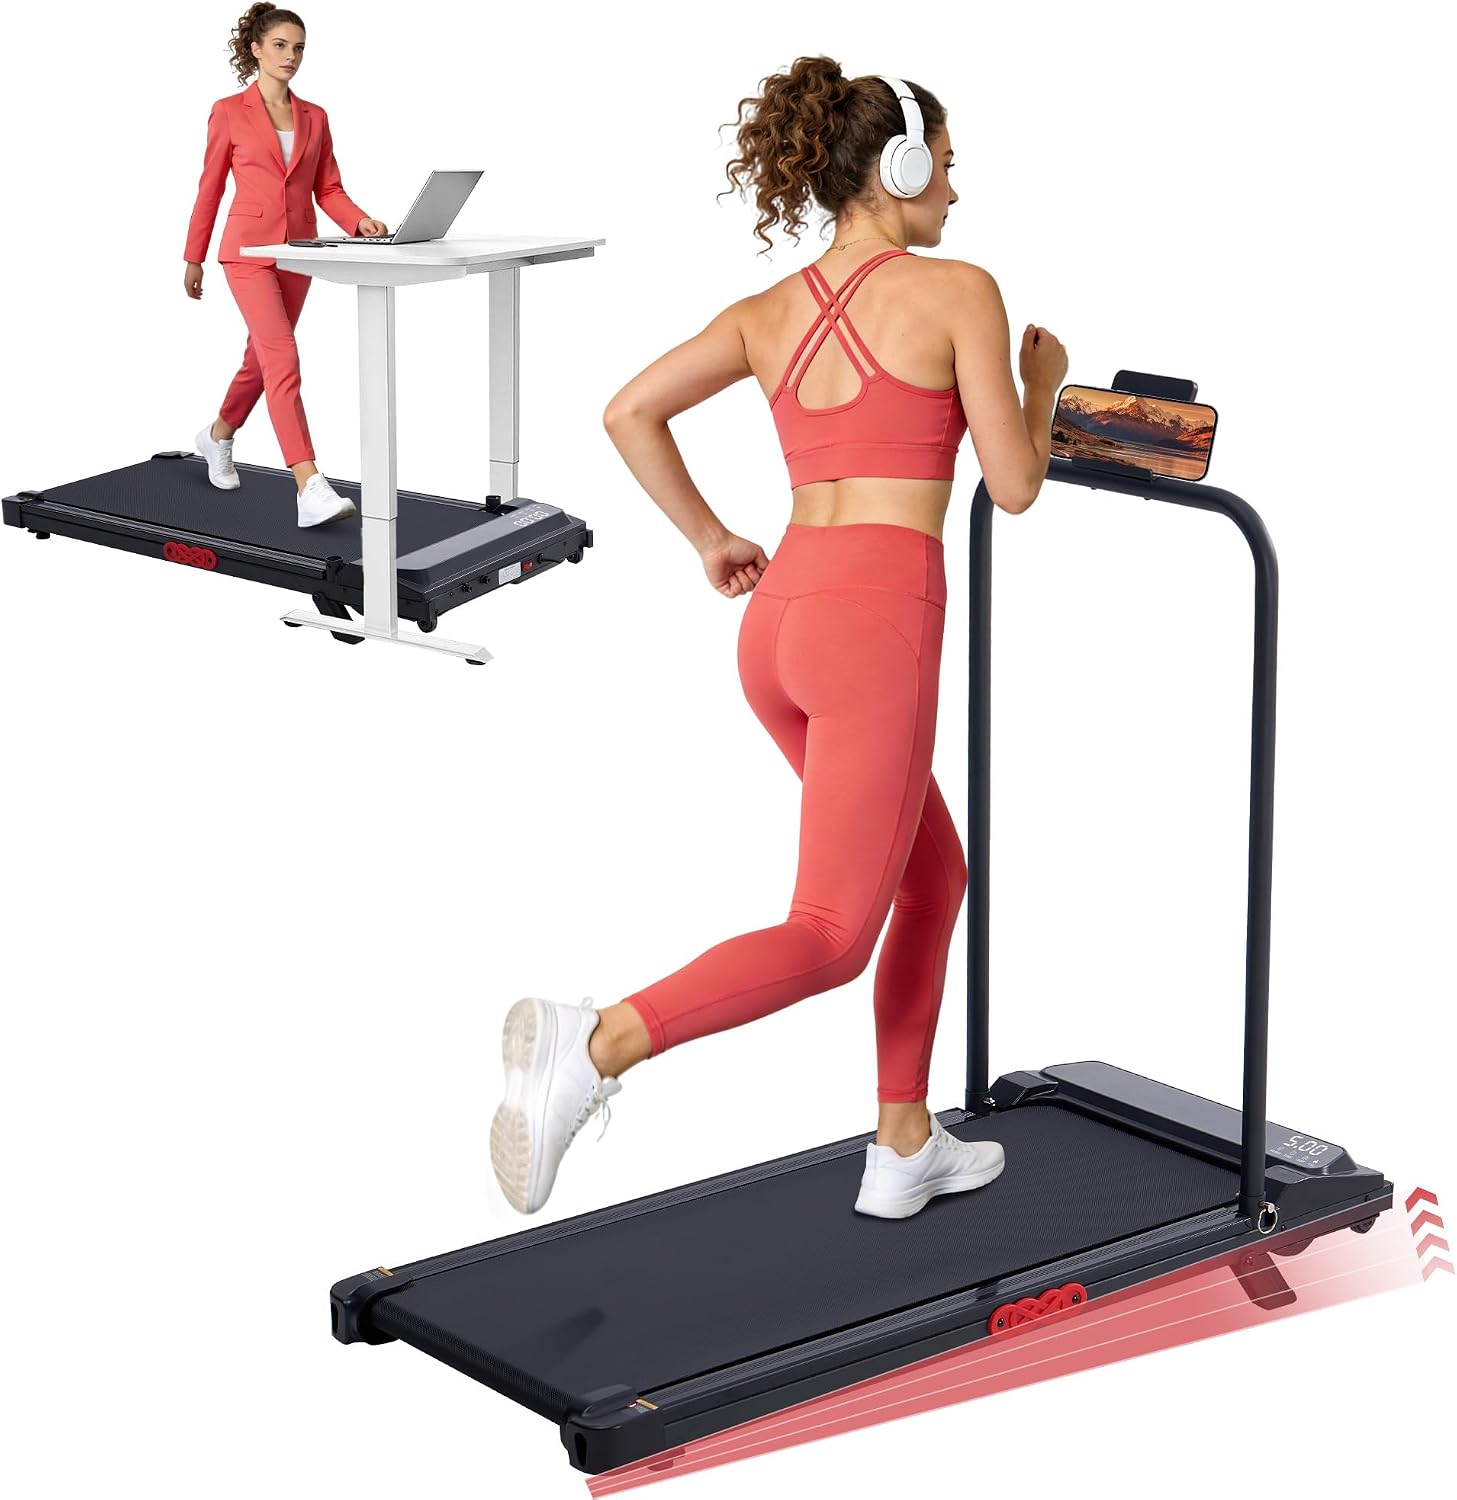
The pad: MCRG Portable Walking Pad Treadmill with Handle Bar Incline for Home Small, 3.5HP Electric Walking Pad Treadmill with Incline, Compact Mini Treadmill with Handles for Exercising, 0.6-10MPH, 400LBS
 Visit on Amazon →
This is the pad this guide is built around, because it has the two features that change how you use an under-desk machine: a handle bar and an incline. Check current Amazon price.
The spec sheet claims a range of 0.6 to 10 mph and a 400 pound capacity, with a 3.5HP motor. Read that speed range carefully, because it is where a lot of buyers get themselves into trouble. A walking pad is not a treadmill, and the handle bar on this one is a balance reference, not a running rail. I do not run on walking pads at all. Running changes the safety profile, the fall risk, and the noise floor, and that belongs in a different review. For under-desk walking, the useful part of that range is the bottom third.
What I like about the design for desk work is that the handle bar gives you a place to rest your hands without gripping, which is what keeps your gait normal when your attention moves to a screen. The incline is the feature I would use in week two and not week one, and I will explain exactly when in the steps below.
Flaws but not dealbreakers: A pad with a handle bar and an incline takes up more floor space than a flat one, and it is heavier to move out of the way when you want the room back. If your only storage option is sliding it under a low bed, measure the deck and the bar before you commit.
Anyone who works at a desk for hours and wants the option of holding on while they read should start here.
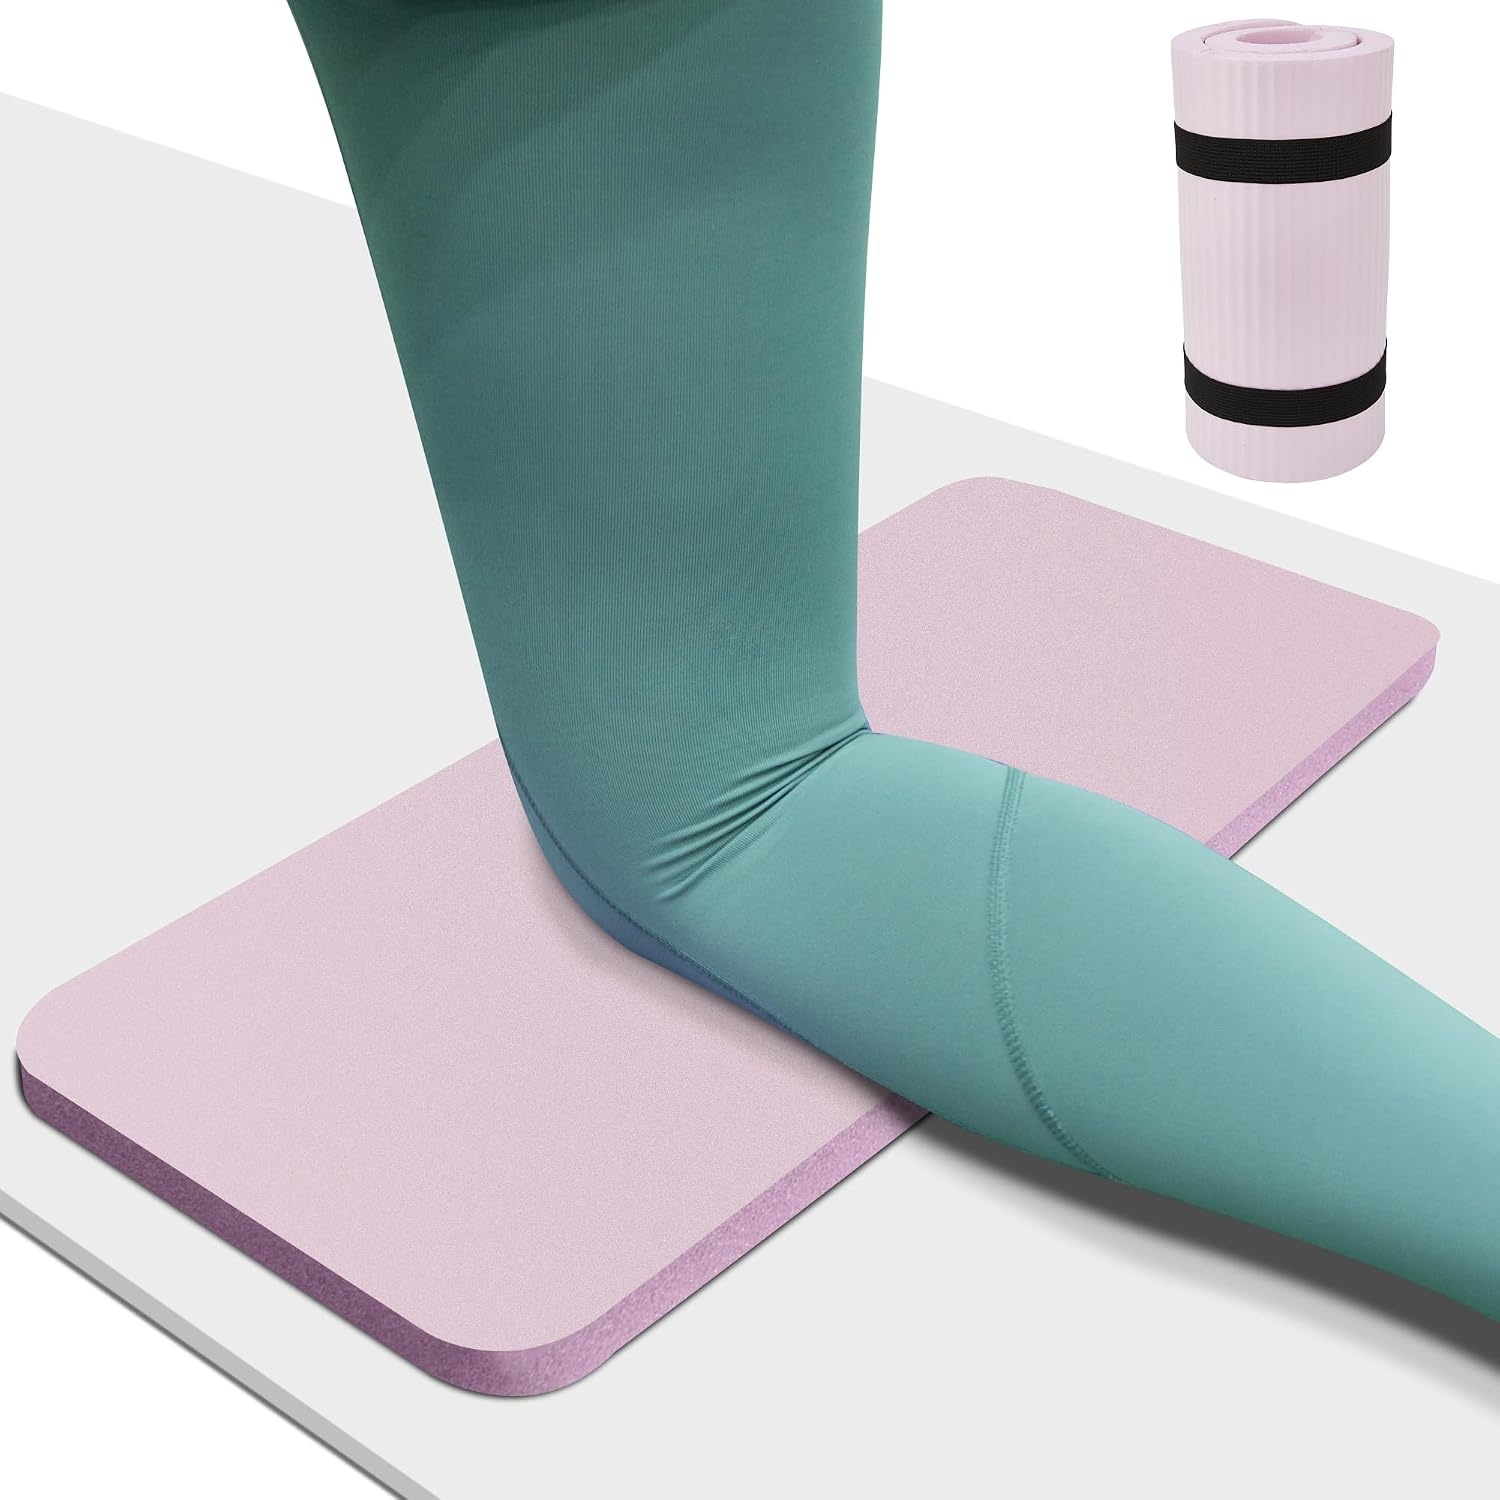
The floor cushion: Yoga Knee Pad Cushion, 24 x 9.8 x 0.8 in Thick Mini Yoga Mat, Odor-Free NBR Workout Mat with Storage Strap, Small Exercise Mat for Yoga, Pilates, Kneeling, Planks & Home Gym
 Visit on Amazon →
This one is not glamorous, and it is the accessory I reach for most often around a walking pad. Check current Amazon price.
Here is the honest use case. Setting up and maintaining a walking pad involves being on the floor: checking belt tracking, feeling for tension, vacuuming under the deck, looking at the front roller with a flashlight. A 24 by 9.8 by 0.8 inch pad under your knees turns that from a chore you skip into a two minute check you actually do. It is also what I kneel on for hip flexor and calf work after a long walk block, and it is firm enough for kneeling planks and presses if you are using the pad as a reminder to move rather than as the whole workout.
It is NBR foam, so it is dense rather than soft, and it comes with a storage strap you can hang on a hook next to the desk. The listing says odor free, and the practical version of that claim is that you should let any foam mat air out for a day before you put it in a small office.
Flaws but not dealbreakers: It is a knee pad, not a full yoga mat. If you want to lie down flat on the floor, this is the wrong size. It is 9.8 inches wide, which covers two knees side by side and not much else.
Anyone who wants to kneel next to their pad without their knees complaining the next day will get the value out of it.
The actual setup workflow
Now the part you came for. This order works on any pad with a handle bar. Do it in one sitting before your first real walk block.
Step one: Place the pad against the desk, not under it. Roll the pad into position in front of your desk, then sit in your chair and look down. You want the front of the deck roughly under your keyboard, with enough clearance that your chair arms and seat do not hit the handle bar when you sit down or stand up. Deck height is the number that decides this, and it is the measurement most buyers skip. If the pad is too tall, your chair will not roll over it and you will spend your day climbing around the machine.
Step two: Set the handle bar height before your first walk. Stand on the deck barefoot and let your arms hang. The bar should land where your hands rest with a slight bend in the elbow, not where you have to reach up or hunch down. Then take your hands off it and walk. The bar is there for balance, not for leaning. If you find yourself putting weight through your palms, the bar is too high or the speed is too fast.
Step three: Walk flat for the first week. Incline is the feature that sells this pad, and it is also the fastest way to make your first week miserable. Your calves and Achilles need time to adapt to walking on a slope. Start at zero. Walk at your working speed for a few sessions. Then add a small incline, one or two steps on the adjustment, and only for part of the session. If your lower legs are sore the next morning, you went too fast.
Step four: Pick a speed you can think at. For desk work, 1.0 to 1.5 mph is the range where most people can type and read without their cadence fighting their thoughts. Two mph is a real working pace and it is where I spend most of my day. Above 2.5 mph, I stop trying to do focused work and treat it as walking time instead. If you cannot hold a conversation at your chosen speed, it is too fast for a work block.
Step five: Test the remote and the auto-stop before you trust them. This is the step people skip and then regret. Stand on the deck, hold the bar, and start the belt at the lowest speed. Then hit stop. Then start it again and step off the back while holding the bar to see what the pad does. Do this on day one, in a clear room, at low speed. If the remote needs line of sight, learn that now, and find the spot on your desk where it works every time. A remote you have to aim is a remote you will not use.
Step six: Check the noise at your working speed, not at idle. Turn the pad on, walk at the speed you plan to work at, and record a voice memo on your phone from where your microphone sits during a call. Play it back. If you can hear belt whine over your own voice, your callers can hear it too. Noise is the number one reason people stop using a pad during meetings, and it is a measurement, not an opinion. Do it before your first Zoom, not during it.
Step seven: Decide barefoot or shoes, and be consistent. At walking speeds, barefoot is fine on a flat belt, and it is how I use mine. What matters is that you check the belt surface for hot spots and that your feet are not sliding. Shoes change your stance height, so if you switch, redo step two, because your hands will sit differently on the bar.
Step eight: Build the first month on a schedule, not on motivation. The eleven-use pattern is real. Week one, twenty minutes a day, one block. Week two, two blocks of twenty minutes. Week three, extend one block to forty-five minutes during a meeting where you mostly listen. Week four, you have a habit instead of a purchase. Keep the remote in the same place every day, because friction is what kills this.
Step nine: Maintain it on a calendar. Once a month, kneel on the cushion, look at the belt from the front, and check that it is tracking centered and that tension feels even across the width. Vacuum under the deck, because dust and hair migrate to the front roller. Follow the lubrication schedule in the manual rather than guessing. If you ever feel the deck wobble at 2.5 mph, stop and check the frame bolts and the floor before you walk again.
One caveat that belongs in every walking pad guide: do not add speed to fix boredom. Speed is not the variable that helps you. Consistency is.
What I did not recommend and why
Flat pads without a handle bar are cheaper, lighter, and easier to store, and for some people they are the right call. I did not build this guide around one because the missing bar is exactly what turns a pad into a footrest, and I would rather you buy the version you keep.
Pads marketed for running are a different product with a different safety profile, and I do not review them. If you want to run indoors, you want a treadmill with side rails, not a walking pad.
Pads that require an app account to change speed lose me immediately. Anything that puts a login between me and a speed adjustment gets used zero times, and I have watched that play out with real buyers.
And anything that quotes a decibel rating taken at idle, with no walking measurement, gets discounted in my notes. It is the most common misleading number in this category.
What this all costs
I do not publish current prices here, because they move, and because a stale number is worse than no number. Check current Amazon price on the pad and on the cushion before you buy, and do the math on the pad as a two-year purchase rather than a one-time one.
The way I frame it for people who ask: the cushion is the rounding error, and the pad is the actual line item. Divide the pad's cost across two years of workdays and it lands in the range of a few cents a day, which is a strange way to think about a machine until you compare it to the cost of a chair you sit in for ten hours. The pad that gets used every day is the cheap one. The pad that gets used eleven times is the expensive one, no matter what it cost.
The setup is the free part, and it is the part that decides which of those two you end up with. Place it against the desk, set the bar to your standing height, walk flat for a week, test the stop before you trust it, and measure your own noise instead of believing a box. That is the whole job.
Your body was built to do this. The pad just gives it somewhere to do it.